Organize Projects in Folders and Resume Editing
Actualizado el 9 sept 2026
What you will complete
Group related files in a folder and reopen a project to continue editing. Keep the original files on your device too.
1. Create a folder
On the signed-in dashboard, choose New folder in the folder area. Enter a name that identifies your work and create it. Select the folder and check its displayed name.
This example uses two geometric samples: support-organize-01.png and support-organize-02.png. Prepare them in 정리할 사진 / Incoming Photos and create 편집 연습 / Editing Practice as the destination folder.


2. Add projects
Open 정리할 사진 / Incoming Photos. Drag from an empty area around both thumbnails, or select each project’s checkbox. Check that the top bar shows 2 files selected, then choose Move to folder.
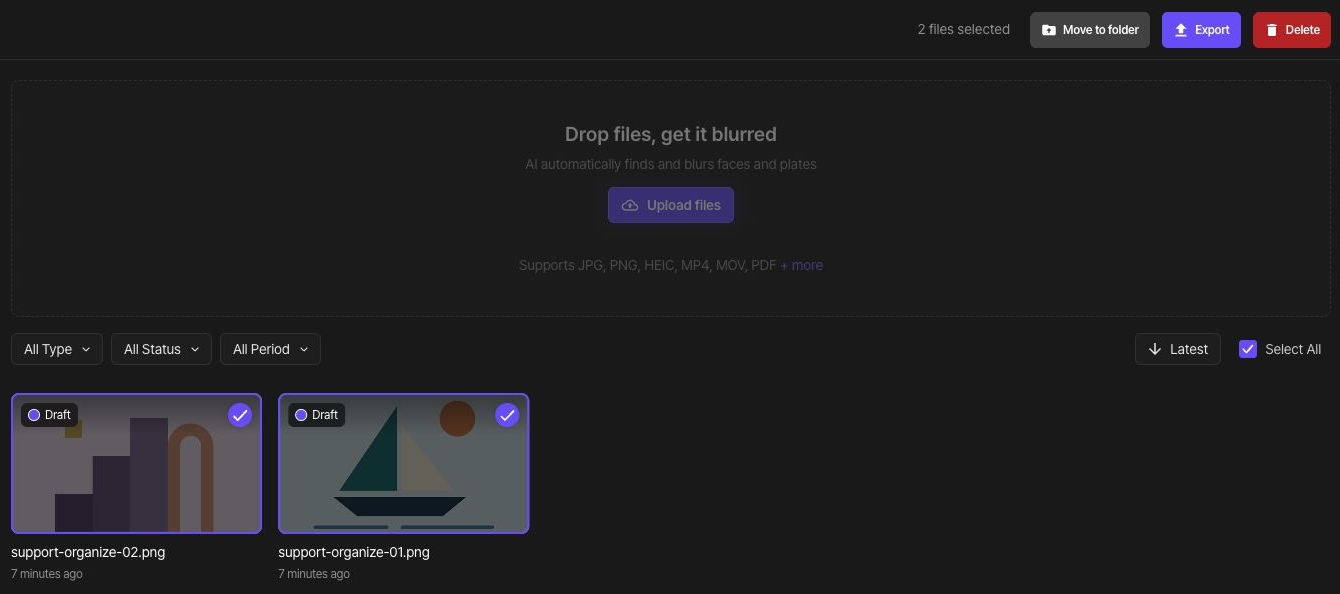
In the move dialog, select 편집 연습 / Editing Practice as the destination.

Choose Move at the bottom of the same dialog. Check the completion notice, then open the destination folder and confirm that both files are there.

3. Rename the folder
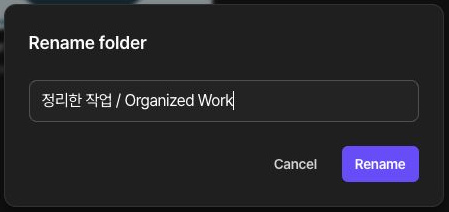
Choose Rename from the folder menu. Enter 정리한 작업 / Organized Work as the new name and choose Rename. Check that the new folder name is displayed and it still contains the same two projects.
4. Resume editing
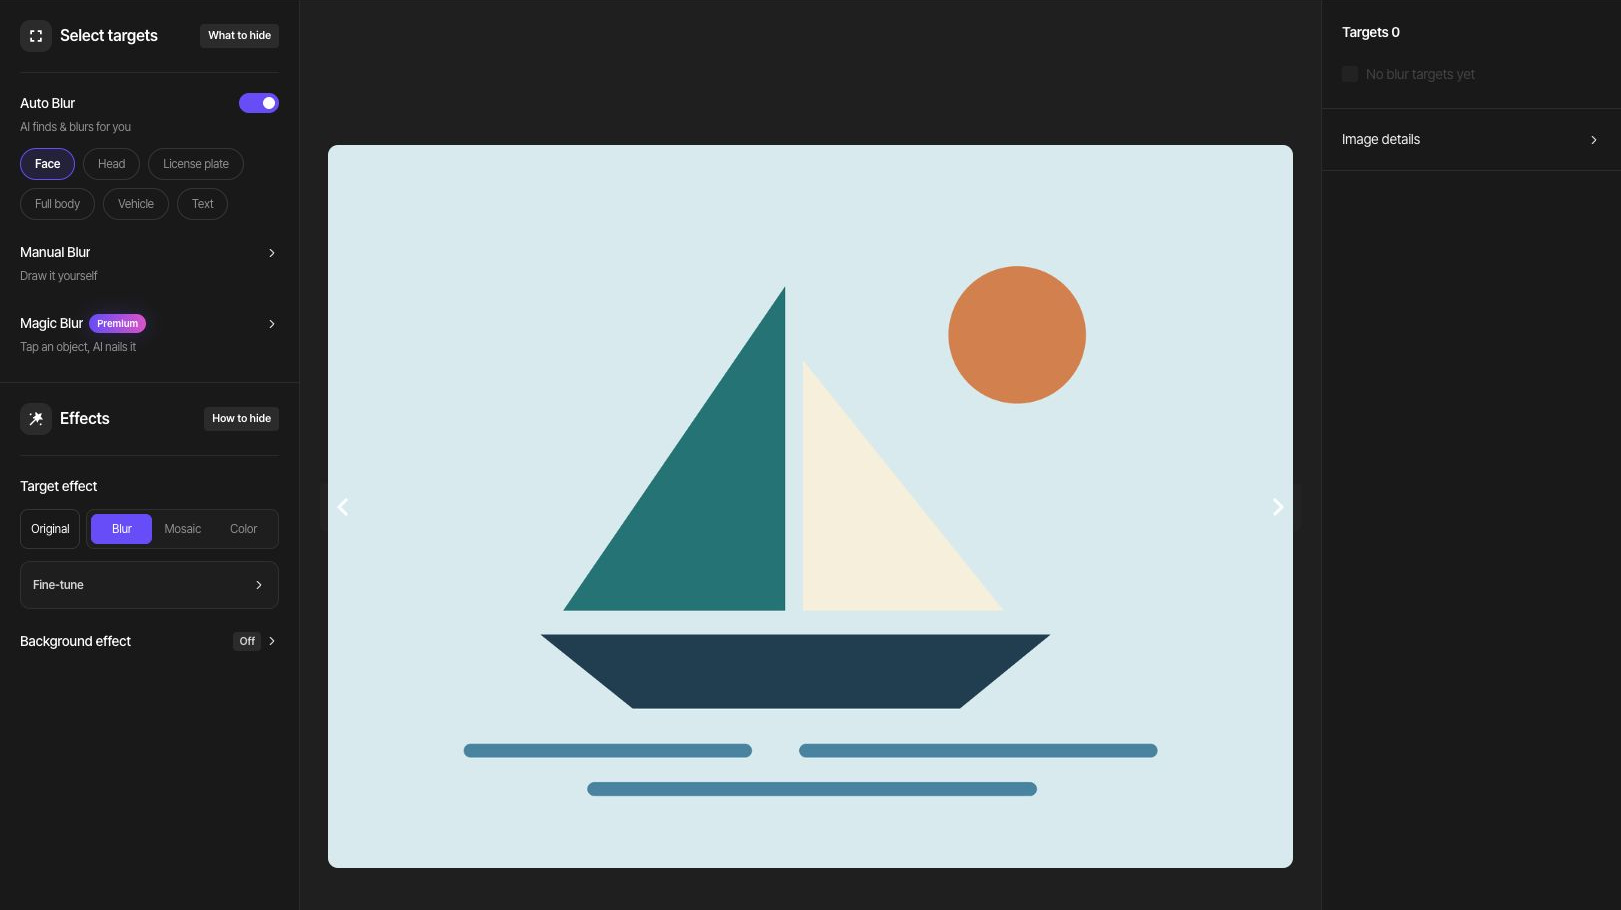
Opening a photo or video project takes you to its studio, including after export. An exported PDF opens its result page; choose Edit to return to the PDF editor. Check the original and saved edit state before continuing.
5. Save changed results
After changing edits, export a new result, download it, and open it on your device. Previously downloaded files do not update automatically. Follow the multiple-photo guide for folder export and ZIP verification.
If you need to delete items
Before deleting a folder, inspect its projects and move anything you want to keep elsewhere. Read the file count and deletion scope in the confirmation dialog before deciding. File deletion and account deletion are separate tasks.