Manually Hide an Area in a Photo
Diperbarui 9 Sep 2026
Draw a rectangle over any part of a photo, adjust its coverage, apply an individual effect, and save the image. Automatic detection is not required for this task.
Before you start
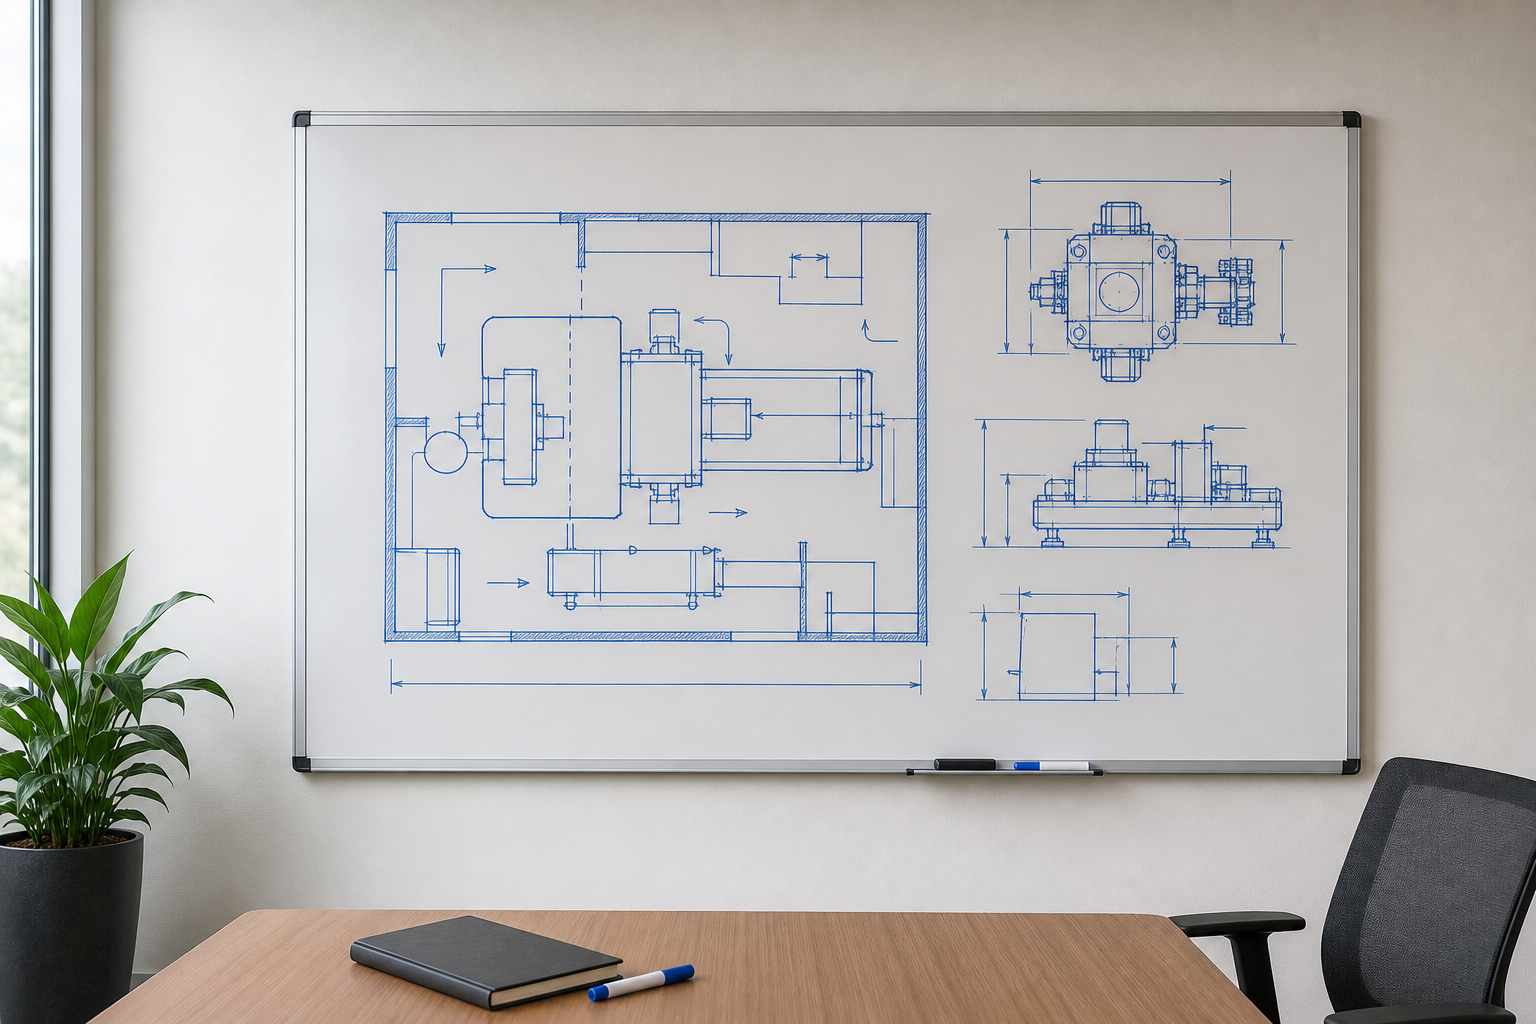
Use an office photo with diagrams on a whiteboard. Download the sample below or use your own photo with an area to cover manually.
Drawing a rectangle is available on Free. The individual rectangle Color setting used in this guide requires Pro or higher.
1. Locate the design to cover
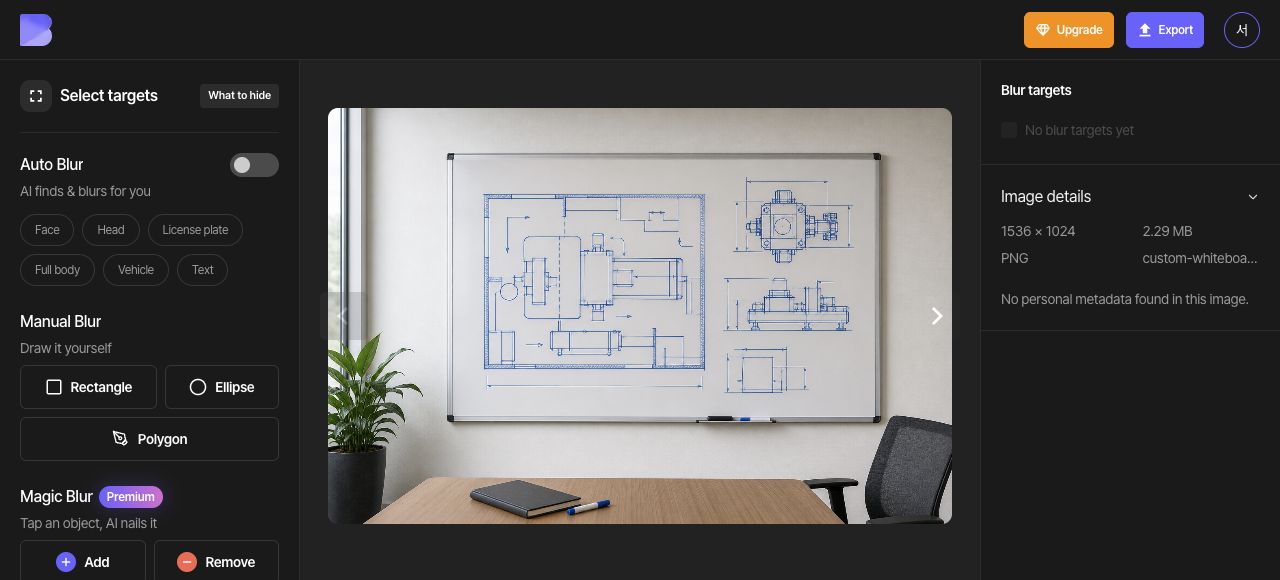
In the dashboard, choose Upload files and select custom-whiteboard.png. After upload and analysis finish, open that photo in the Studio.
Turn Auto Blur off. Locate the large design on the left and the three smaller diagrams on the right. You will cover all the drawings while keeping the rest of the office visible.
2. Draw a rectangle over the left design
Choose Rectangle in the manual area tools. Drag around the large design on the left to create the initial area. You will expand this same rectangle over the right-hand diagrams in the next step.
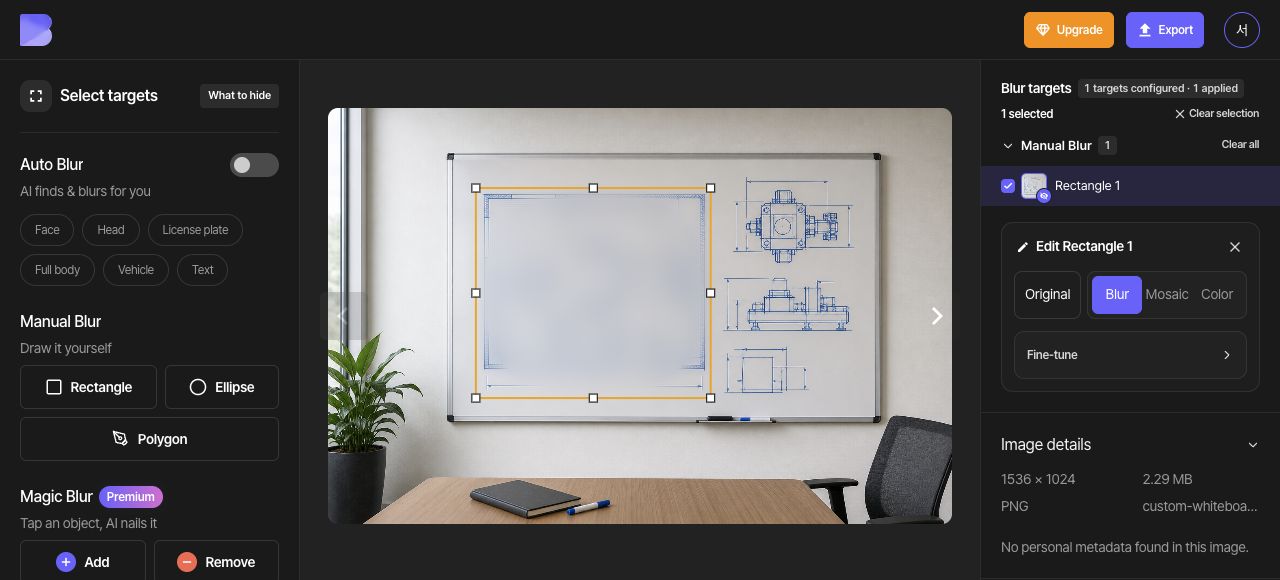
3. Expand the rectangle over the right-hand diagrams
Drag the rectangle's upper-right resize handle outward. Expand the same area to include all three smaller diagrams on the right, checking that the outer dimension lines and arrows also stay inside.
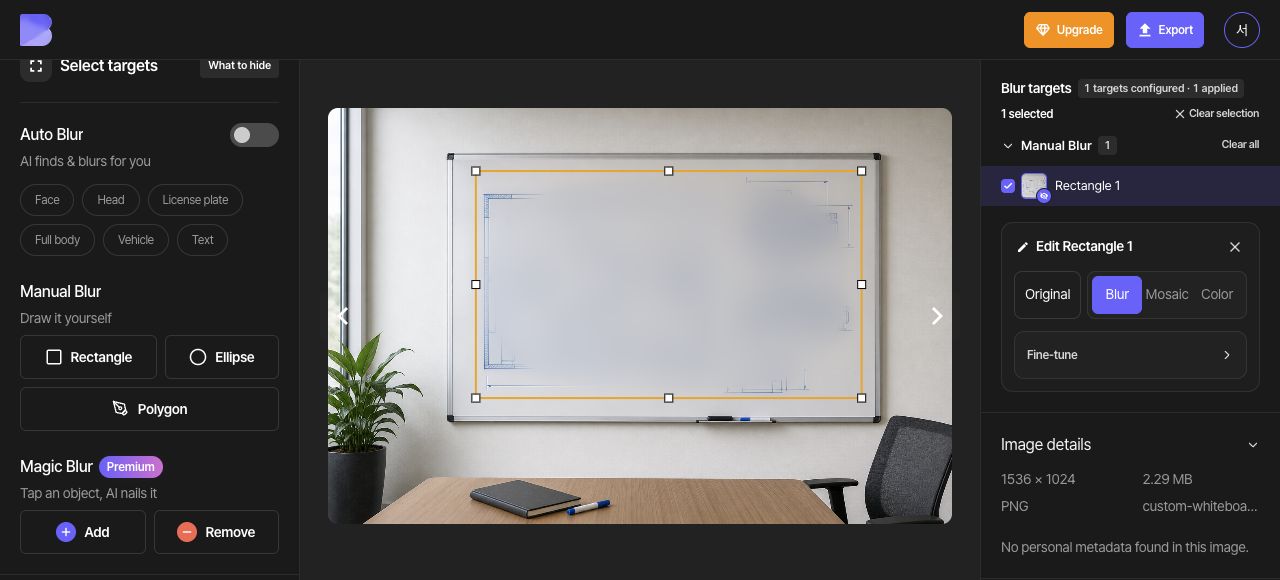
4. Set the individual area to black and review
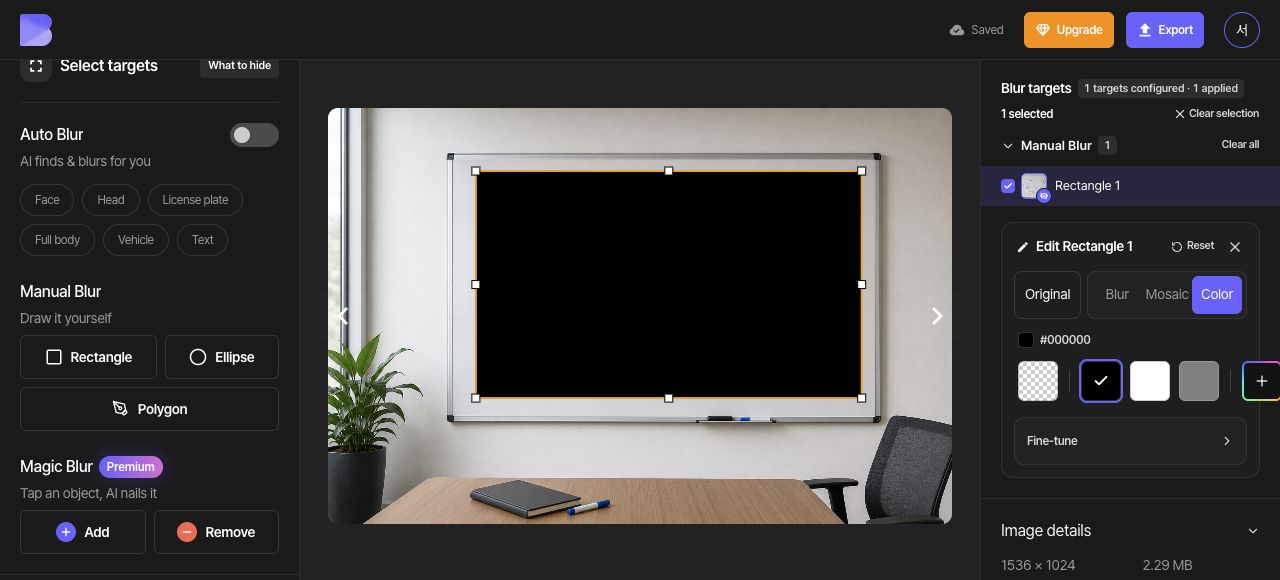
Keep the rectangle selected. In the right-hand Edit Rectangle 1 panel, choose Color and the black swatch (#000000). This rectangle's individual Color setting overrides the overall Target effect, so the rectangle is black even while the overall control on the left shows Blur.
Check all four corners and the outermost diagram lines for exposed details. Also confirm that the surrounding table, chair, and office remain visible.
5. Export as PNG
Open Export at the top and select PNG. Set the file name to custom-whiteboard-edited. Confirm the format and name, then review the on-screen credit and usage notice before starting the export.
6. Check the downloaded file
After export completes, use Download for the same photo in the dashboard. Wait for the browser download to finish, then open the file on your device and check its name and extension.
Check that the large design and all three right-hand diagrams are covered while the surrounding office remains visible. Perform this check in the file you just received as well as in the editor.