Upload Multiple Photos and Download a Folder
Atualizado em 9 de set. de 2026
Upload three photos into one folder, edit each photo, and export the folder. After receiving the ZIP, extract it and check the edits in all three files.
Before you start
Use three photos from the same event setting. Download all three files below. If you use your own photos, start with three that have not been exported yet.
Batch upload of multiple photos requires Pro or higher.



1. Create an Event Photos folder
Create a new folder in the dashboard and name it 행사 사진 / Event Photos. Open the folder to confirm the upload destination.
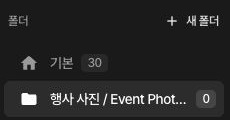
2. Upload the three photos together
In the upload picker, select event-01.jpg, event-02.jpg, and event-03.jpg together. Wait for upload and analysis, then confirm that all three appear in the same folder.
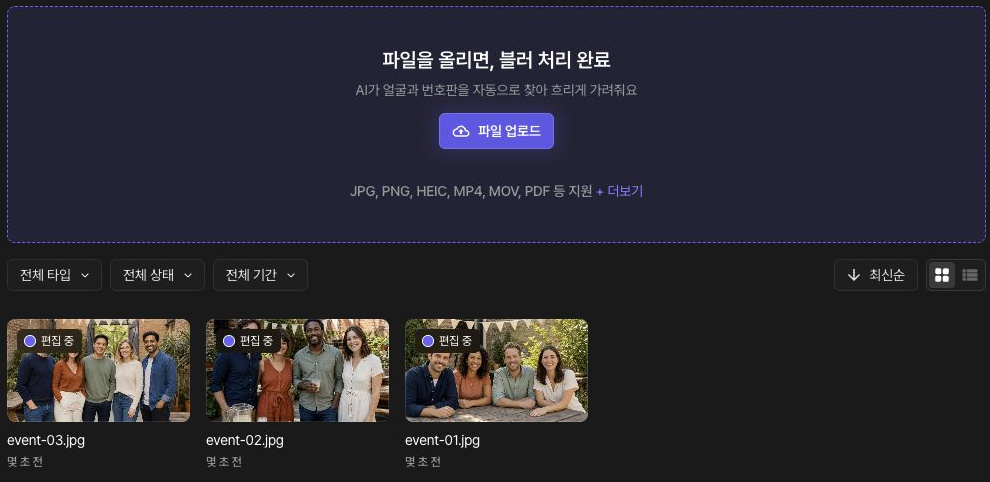
3. Review face coverage in each photo
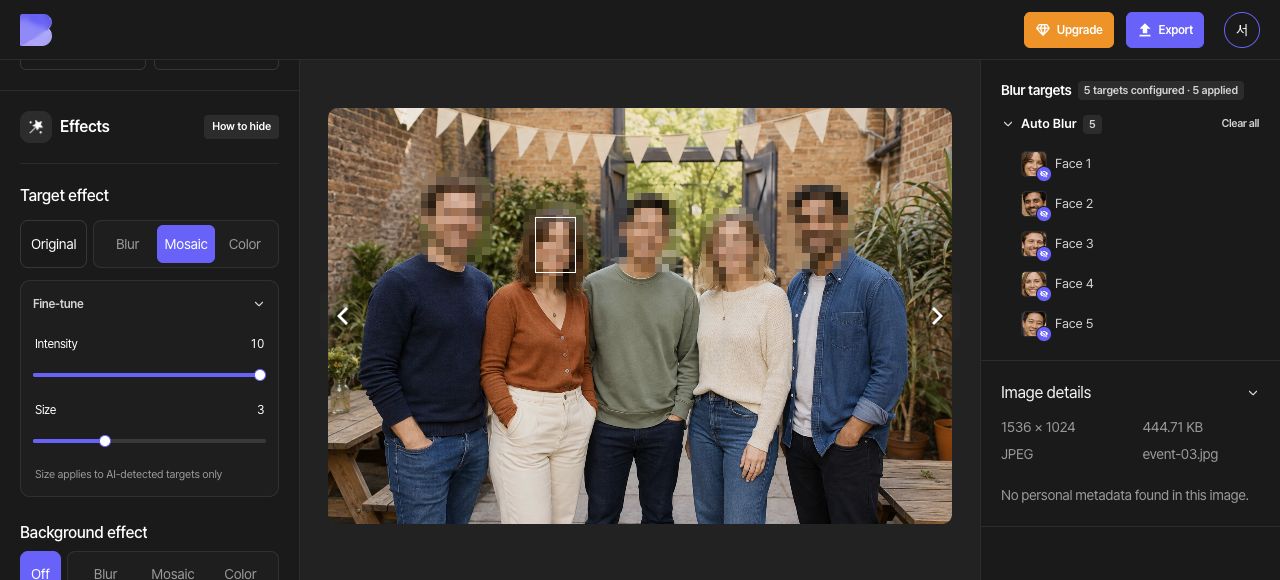
Open the three photos in turn and review Face detection under Auto Blur. event-01.jpg and event-02.jpg each contain four faces; event-03.jpg contains five. Set Mosaic intensity to 10 in each photo and add a manual area for any missed face.
Review each photo's effects and correct any missing coverage. Wait until each photo’s changes are saved before returning to the folder. Photos that have never been exported can be processed together by folder export without exporting each one first.
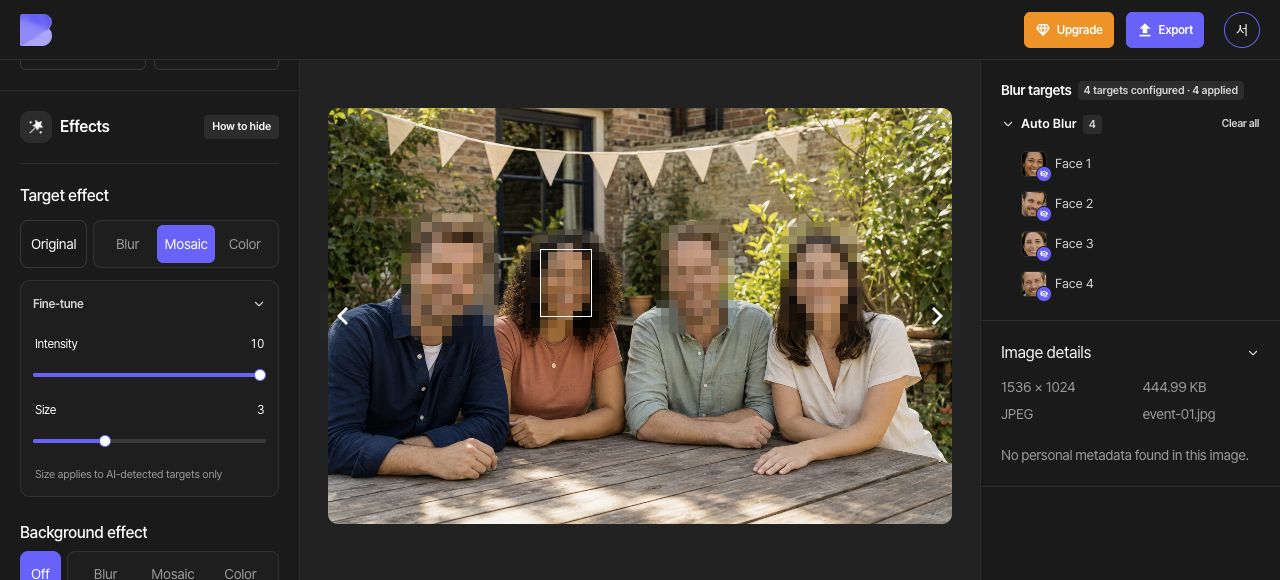
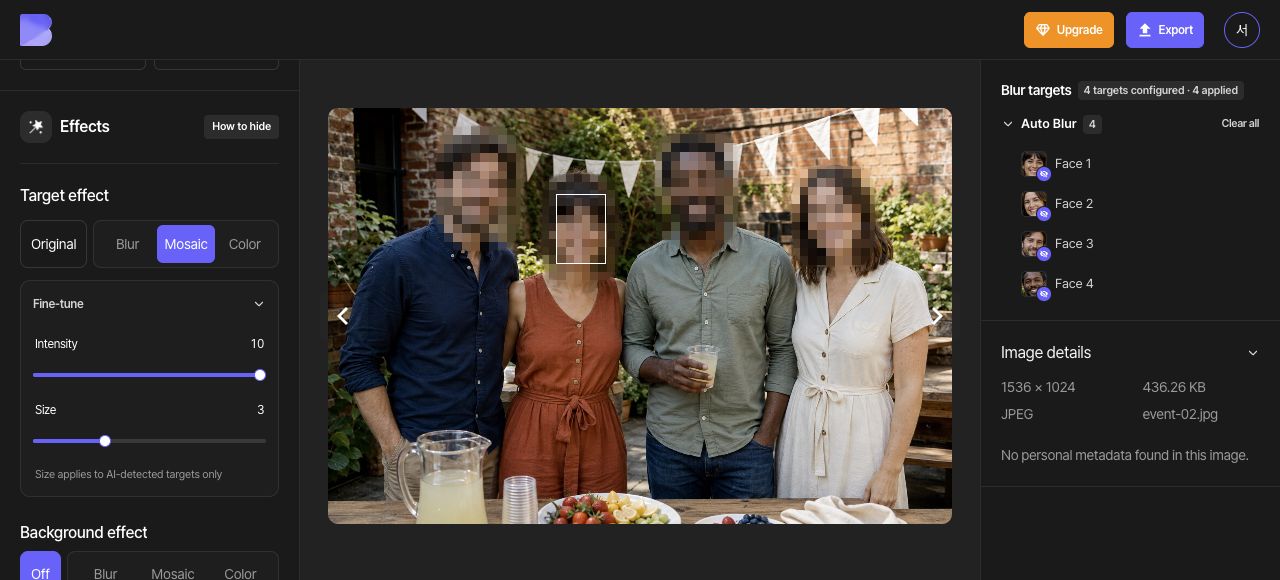
4. Export the whole folder
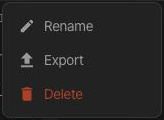
In the left sidebar, hover over the 행사 사진 / Event Photos folder, open its (…) menu, and choose Export. Check the included files and any on-screen usage notice, then start processing.
If you edit a photo that has already been exported, export that photo again from the Studio. Wait for completion and check that the result contains the latest effect before exporting the folder. Downloading the folder again does not by itself replace a previous output with your latest edit.
5. Download the ZIP after processing
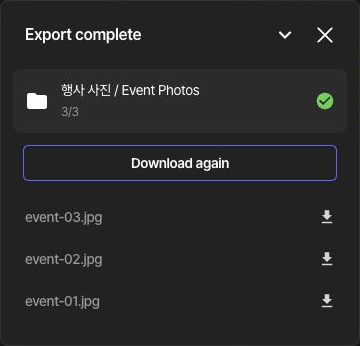
In the completion panel, check the folder name, the 3/3 count, and the names of all three event photos. Use Download again to start the folder ZIP download.
Confirm that the browser has finished downloading the ZIP. A completed processing count and a downloaded ZIP are separate things to check. If a file fails, export that photo again and wait for completion before downloading the folder results.
6. Unzip and check all three files
After the ZIP download finishes, extract it and confirm that it contains a result for each of the three source photos. Open every file to check the face effects. For a photo that you edited and exported again, also confirm that its latest effect is included.