Remove a Background and Save a Transparent Image
Cập nhật 9 thg 9, 2026
Select the objects to keep, make the background transparent, and export a PNG. Check the downloaded file for clean edges and actual transparency.
Before you start
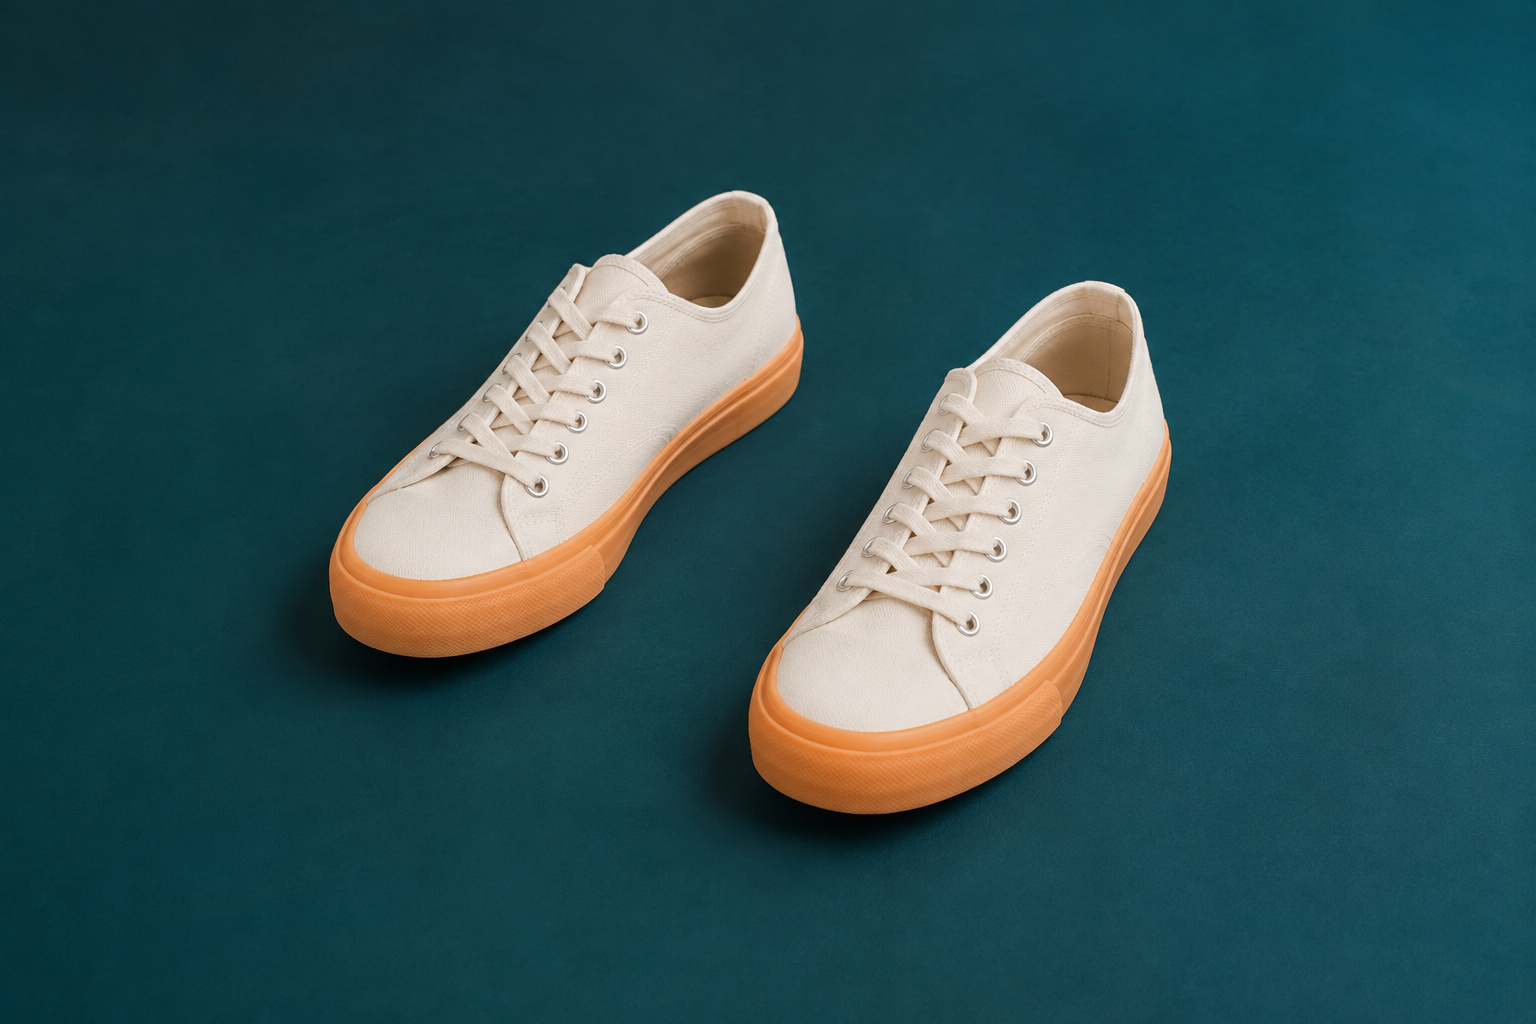
Keep both sneakers in the sample photo on a teal floor. Download it below or use your own photo with a background to remove.
This workflow uses Magic Blur selection and background effects, which require Starter or higher.
1. Open the sneaker photo
In the dashboard, choose Upload files and select cutout-shoes.png. After upload and analysis finish, open that photo in the Studio.
Locate both sneakers and the teal floor between them. The goal is to keep both shoes.
2. Select each shoe as a separate target
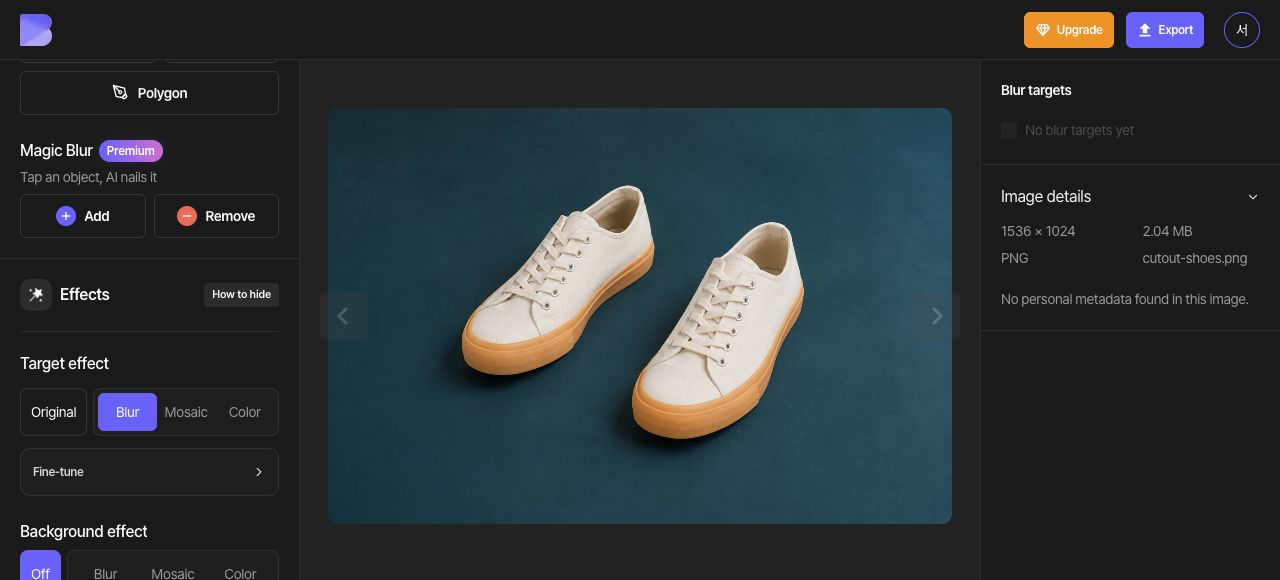
In Magic Blur, choose Add and click inside the left shoe. Check the full outline, then choose Done to create the first Magic target.
Start Magic Blur again and place one Add point around the right shoe's laces and another inside its toe. Check that the laces and sole are included, then choose Done to create the second Magic target. Confirm that the target list now contains two Magic targets, one for each shoe.
3. Make the background transparent
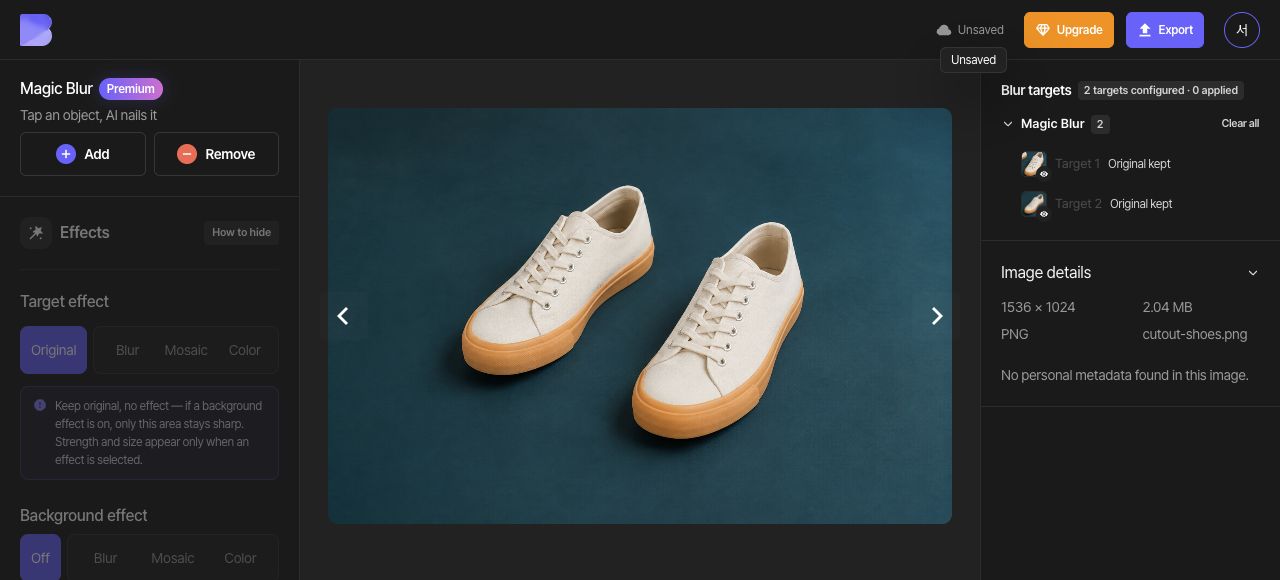
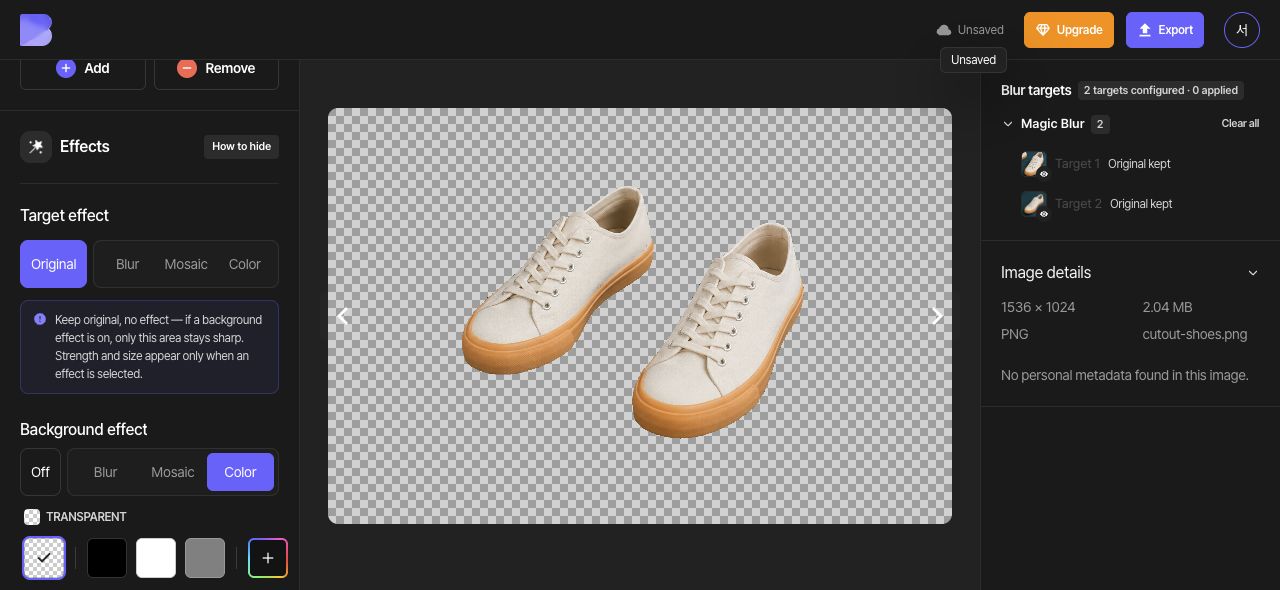
Set the overall Target effect to Original to keep both shoes clear. Under Background effect, choose Color and then Transparent. Check for the checkerboard outside and between the shoes, and confirm that the laces and soles remain intact.
4. Export a format that supports transparency
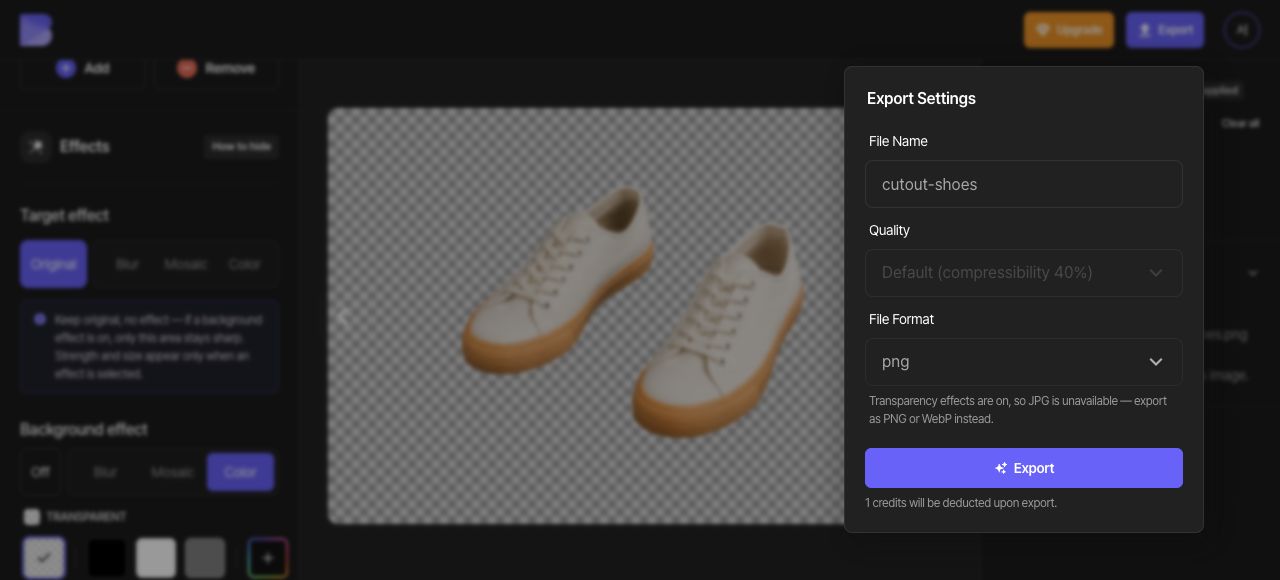
Open Export at the top and select PNG. Quality adjustment is disabled in the PNG settings shown here. Check the file name, review the on-screen credit and usage notice, and start the export.
The interface explains that JPG is unavailable while transparency is enabled. Use PNG or WebP to preserve transparency; this guide uses PNG.
5. Download the PNG and check its transparency
After export completes, use Download for the same sneaker photo in the dashboard. Wait for the browser download to finish, then open the downloaded PNG in an image editor on your device.
Use an editor that supports transparency and place the image on both light and dark backgrounds. Check that both shoes, the laces, and soles remain intact and that no teal floor remains outside or between them. Check the downloaded file’s transparency separately from the checkerboard shown in the editing preview.