Hide Faces in a Photo and Save It
2026/09/09 更新
Upload a photo, detect its faces, apply Mosaic to every face, and save the edited image. Check the downloaded photo for any missed faces.
Before you start
Follow along with a group photo containing four faces. Download the sample below or use your own photo.
Free exports do not use credits and include a watermark.

1. Open the group photo
In the dashboard, choose Upload files and select faces-four.png. After upload and analysis finish, open that photo in the Studio.
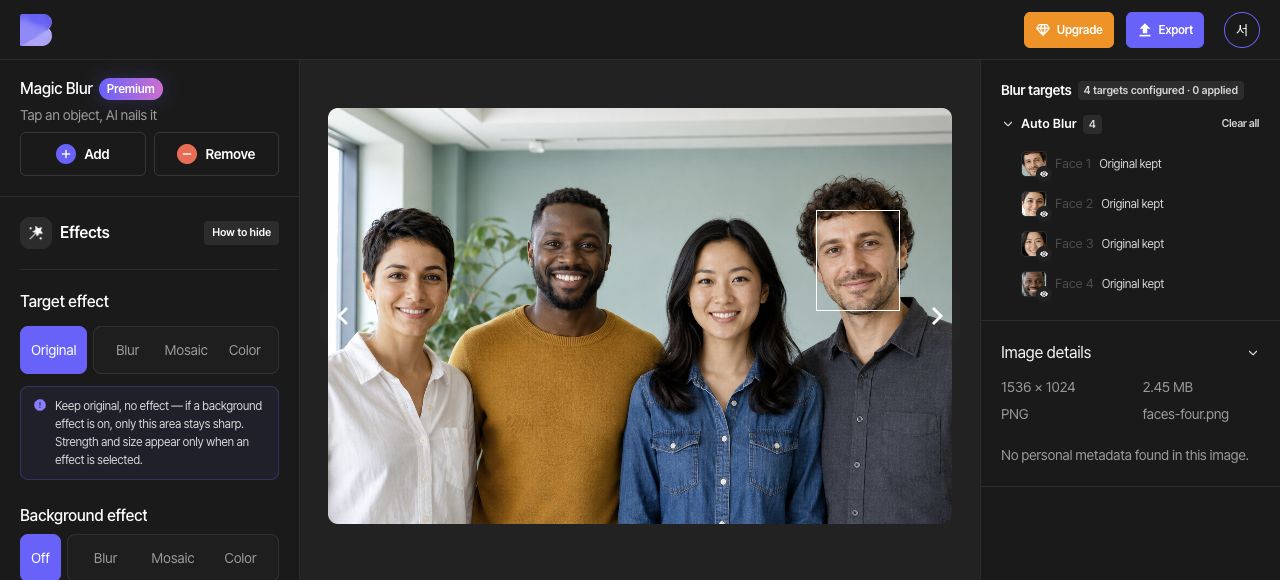
Locate all four faces. Counting the visible faces first makes it easier to spot a missed detection.
2. Check automatic face detection
Enable Face under Auto Blur. Compare the target list with the photo and check that all four faces have been detected. Use a target-list checkbox when selecting a target to edit its effect.
If a real face is missing, cover it with a Rectangle under Manual Blur. If a non-face area was detected by mistake, keep only that mistaken target Original and leave all four intended faces covered.
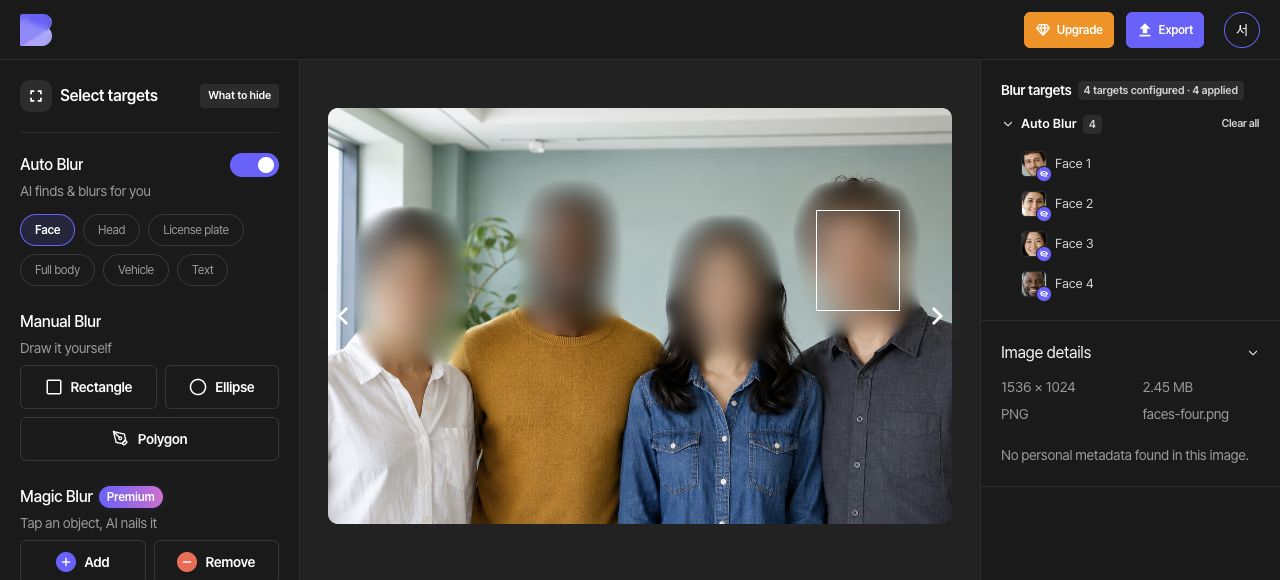
3. Apply Mosaic to all faces
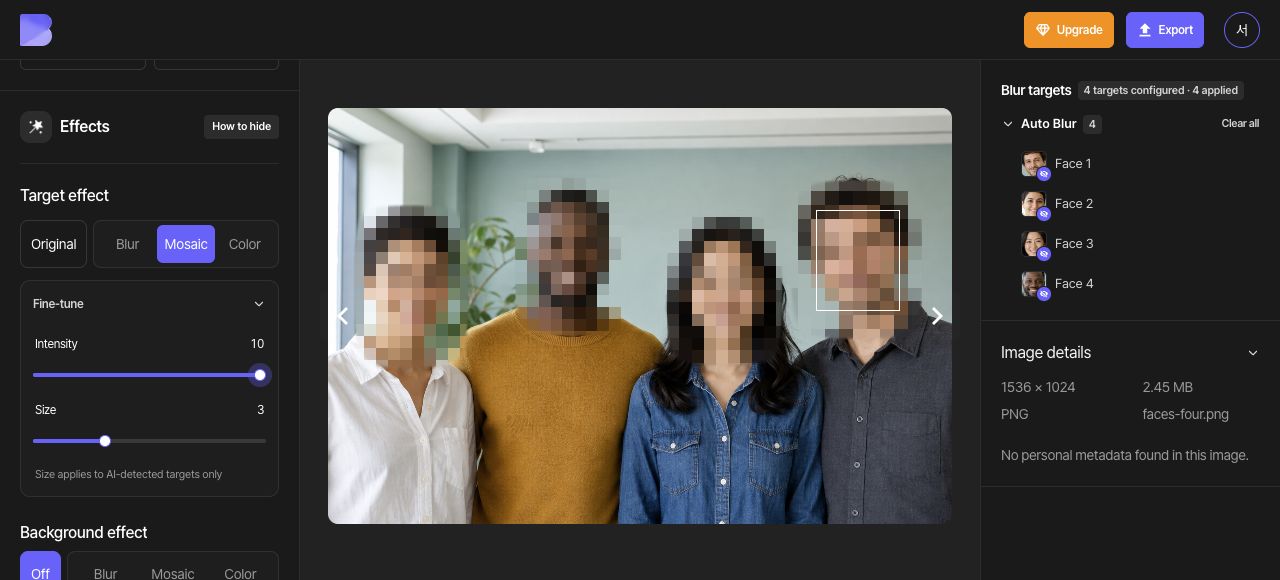
If an individual face is selected, use Clear selection to deselect it. Choose Mosaic in the overall Target effect controls and set Intensity to 10 and Size to 3 under Fine-tune.
Blur softens details, while Mosaic covers them with blocks. For a solid cover, use Color and the black swatch (#000000). Keep the same Mosaic effect on all four faces for this guide.
4. Review every face
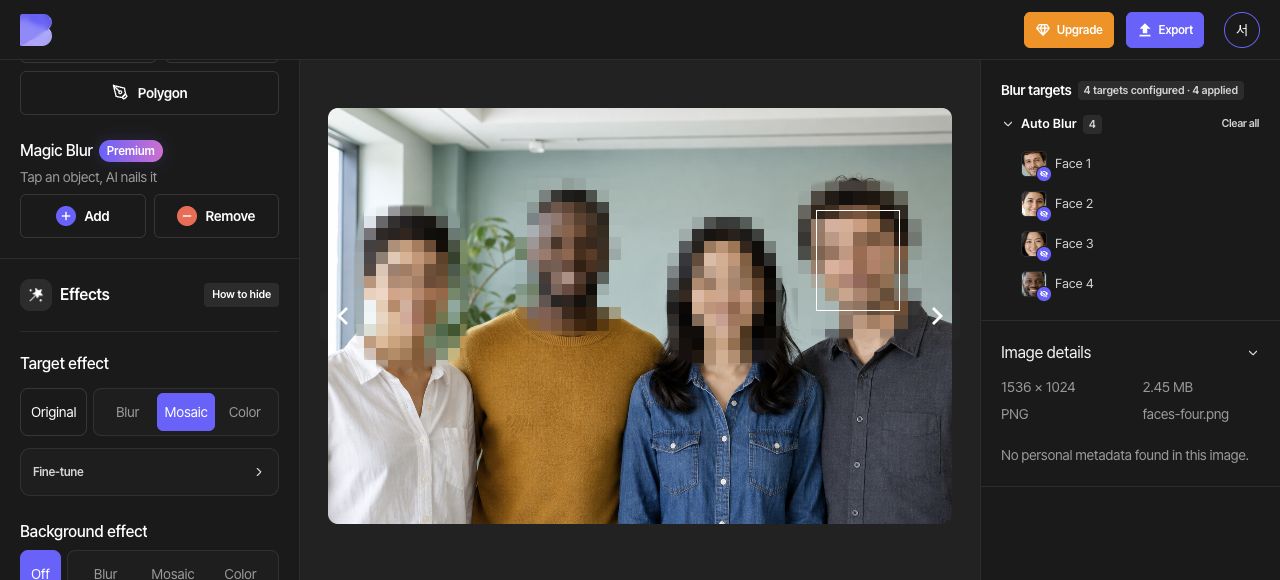
Inspect each face closely, including the eyes, nose, mouth, and edges. If a detected area needs more coverage, adjust Size under Fine-tune and review it again. Resize a manually drawn rectangle with its canvas handles.
5. Export as JPG
Open Export at the top and select JPG. Set the file name to faces-four-edited. Keep Quality at Default, then review the on-screen credit and usage notice before starting the export.
JPG is an option for a regular photo. Choose PNG when you need a lossless image. If you change the format, check both the file name and the downloaded extension.
6. Check the downloaded file
After export completes, use Download for the same photo in the dashboard. Wait for the browser download to finish, then open the file on your device and check its name and extension.
Check that all four faces retain Mosaic and that no facial details extend outside the covered areas. Perform this check in the file you just received as well as in the editor.