Upload Your First File and Start Editing
Atualizado em 9 de set. de 2026
What you will complete
Upload your first file in the appropriate studio and reach the editor with its analysis results. Continue with a task guide to finish editing and save a result.
1. Choose your file and studio
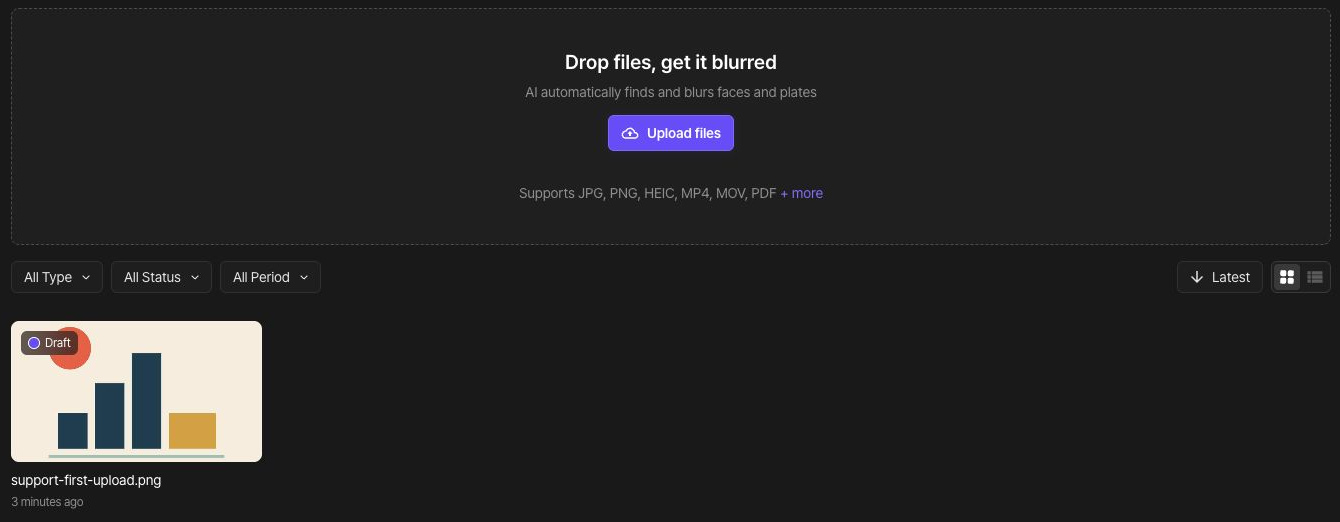
Open Image Studio for a photo, Video Studio for a video, or PDF Studio for a PDF. To work in your account, sign in first and choose Upload files on the dashboard. Use a file name you can recognize later.
To follow the screens, use the geometric sample support-first-upload.png, which contains no faces or personal information.

2. Upload the file
Choose Upload files or drag the file into the upload area. Start with one file. If a size or format error appears, read the message and use the supported-files guide before choosing the file again.
3. Check upload and analysis status
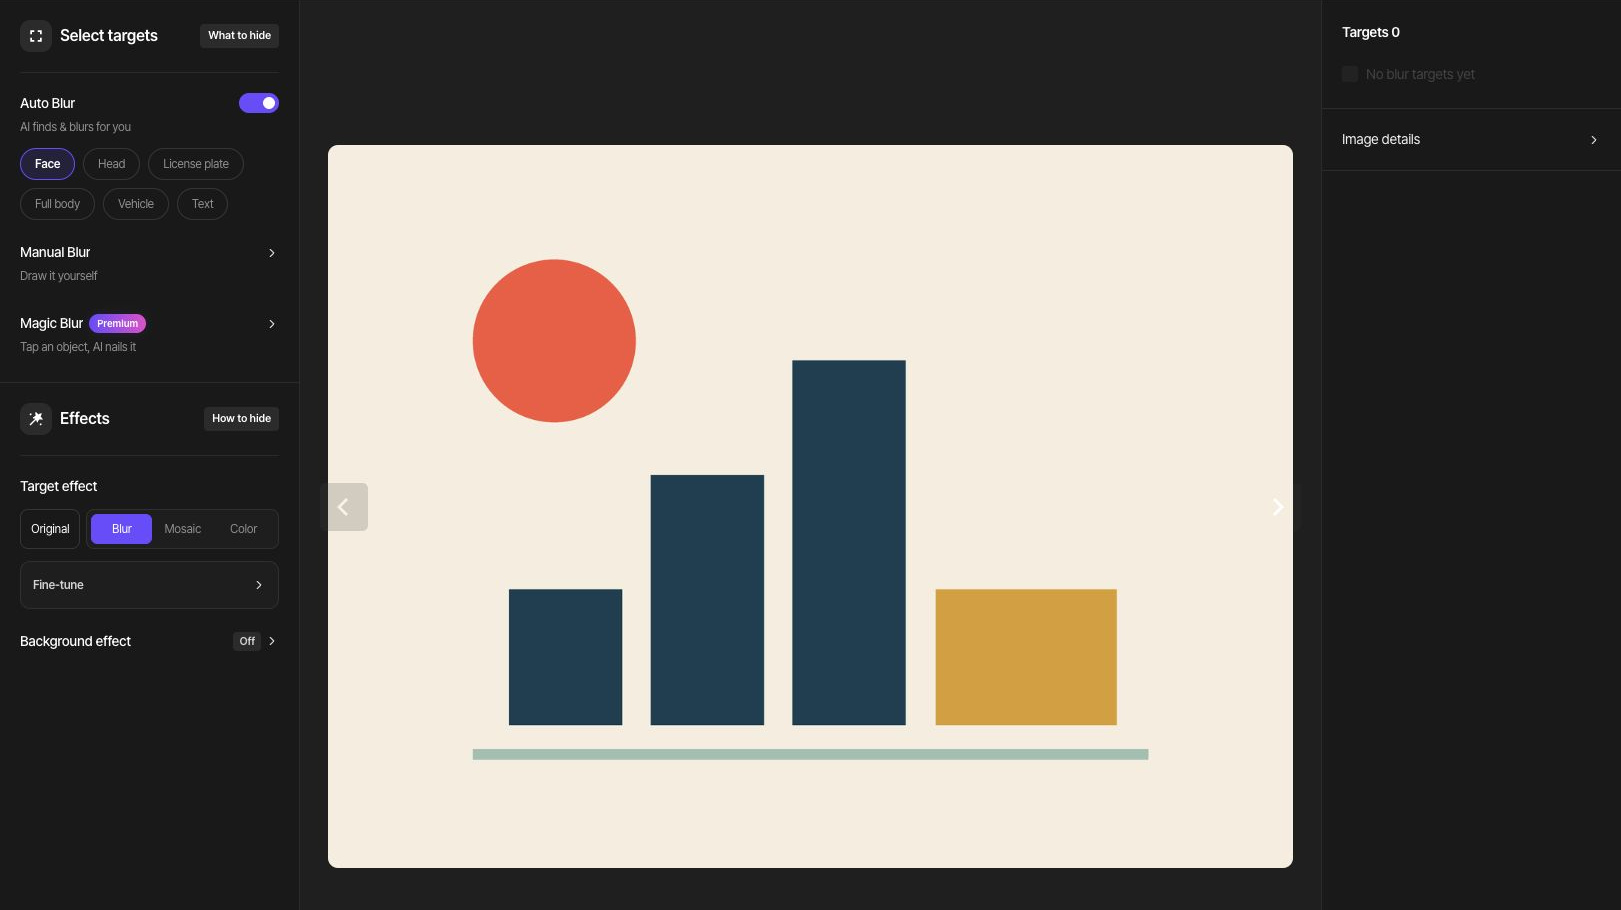
Wait for uploading and AI analysis to finish. An analysis status does not mean an exported file is ready. Open the project from the dashboard to reach its editor.
4. Compare detections with the original
For photos and videos, compare the faces or plates you need to hide with the detected targets. For PDFs, check findings against the original on every page. Small or unclear details may be missed. Add manual areas for omissions and check that information you want to keep is still visible.
Choose the next task
Continue with the photo-face, video-face-and-plate, or selective-PDF guide below. Some editing operations, including completing a Magic Blur selection or tracking a video target, can use credits. Check the displayed cost before running them.