Hide Text and Photos Together in a PDF
Zaktualizowano 9 wrz 2026
Hide text and the faces and license plates inside photos in the same PDF. Use Black for text and Mosaic for detected photo targets, then save the combined result as one PDF.
Before you start
Automatic processing of faces and license plates inside PDF photos is available on Pro and above. The photo-target Mosaic steps in this guide require a plan with that feature.
Download the original practice file: text-and-photo.pdf. All names and contact details are fictional. Use this same source throughout the steps.
1. Inspect the text and photo in the same document
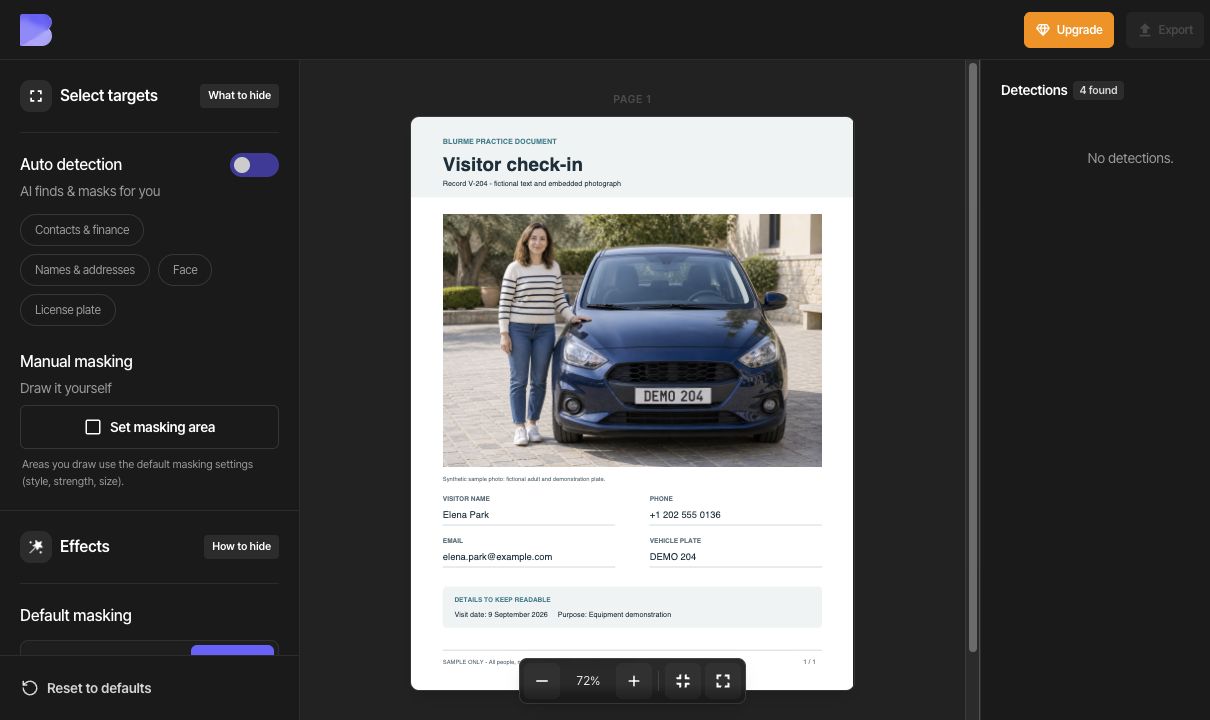
Upload text-and-photo.pdf from the dashboard and open it. This one-page visitor record contains a name, phone number, email address, and vehicle plate as text, plus a photo of the same fictional adult and car. Keep the visit date and purpose readable.
To compare with the original, temporarily turn Auto detection off and inspect the unmasked document. The capture below shows this original-comparison state. Turn Auto detection back on in the next step. The plate inside the photo and DEMO 204 written below it must be covered separately.
2. Select the text to hide
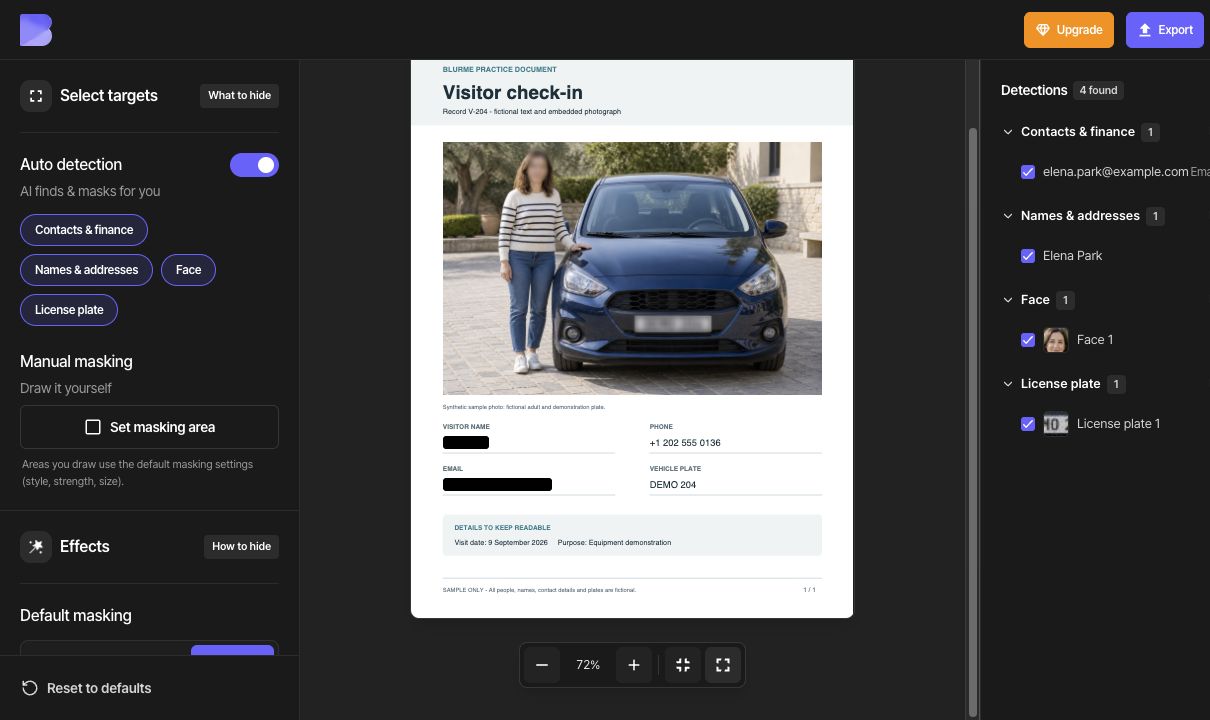
Turn Auto detection back on and review the detections. The example shows four: one name (Elena Park), one email address, one face, and one plate inside the photo. Include the name and email and keep the face and plate enabled. The phone number and vehicle-plate text below the photo were not detected; cover them manually in step 4.
The type buttons under Auto detection affect the whole type. Include all and Exclude all affect a whole detection group. Use an individual checkbox when you want to keep just one item.
Choose Default masking → Color → Black. Check both the detection checkboxes and the actual masking in the document.
3. Apply Mosaic to detected photo targets
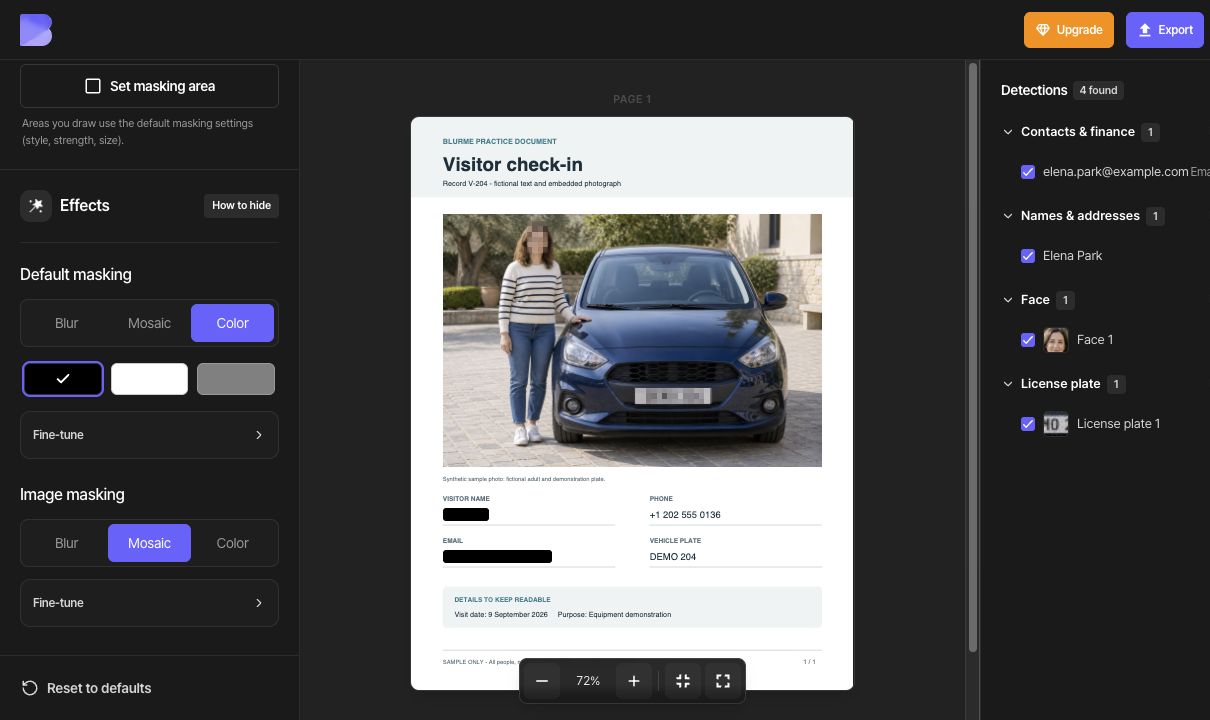
Include the detected face and license plate, then select Image masking → Mosaic. Check that the effect appears on the face and the plate inside the photo.
If more coverage is needed, open Fine-tune and adjust Strength and Size. This example uses the default Mosaic values without changing them.
Default masking and Image masking are separate settings. Changing text to Black keeps the photo targets in Mosaic. Detected faces and license plates share Image masking, so this guide uses the same photo effect for both.
4. Add manual areas for missing targets
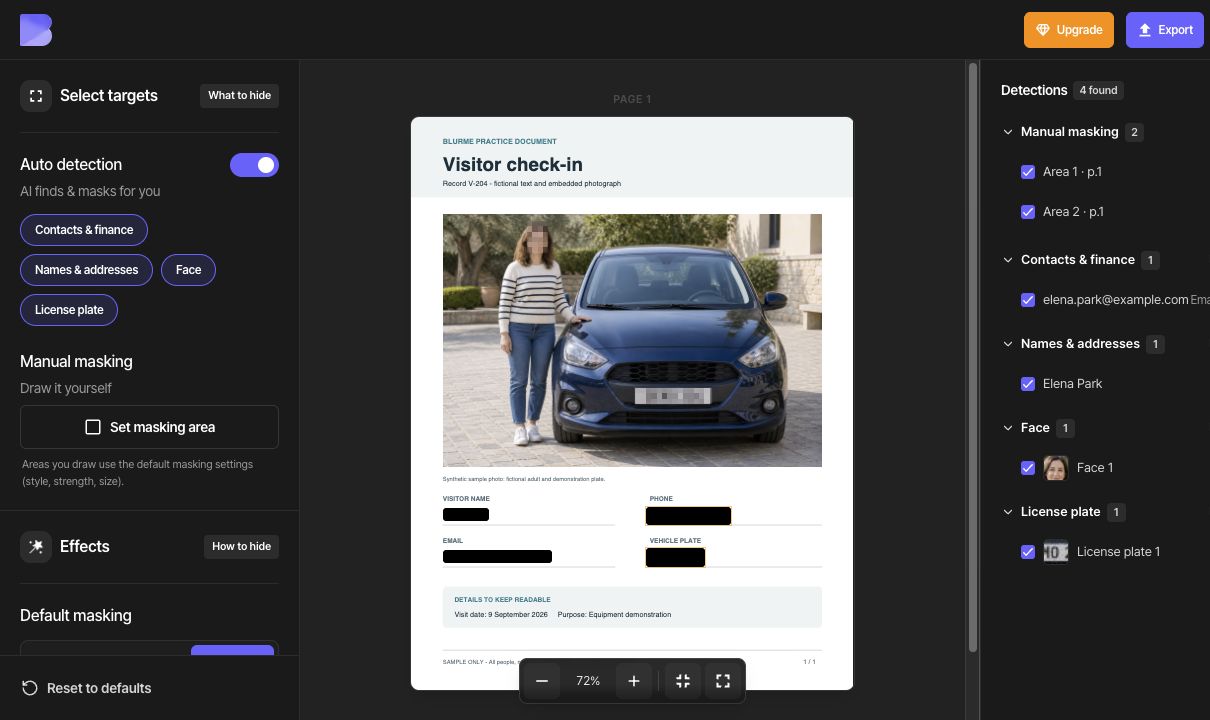
Click Set masking area and draw the first rectangle around the complete phone number +1 202 555 0136. Draw a second rectangle around DEMO 204 written below the photo, then click Done. Include the country code and every character.
The two manual areas use Color and Black from Default masking. Select an area to move it or drag a corner to resize it if needed. In another document, an item whose location could not be found cannot be hidden by checking it alone; add a manual area in the same way.
Check the name, email address, phone number, and both instances of the plate. Hide the plate inside the photo and its text below the photo. Keep the visit date and purpose readable.
Export and check the downloaded file
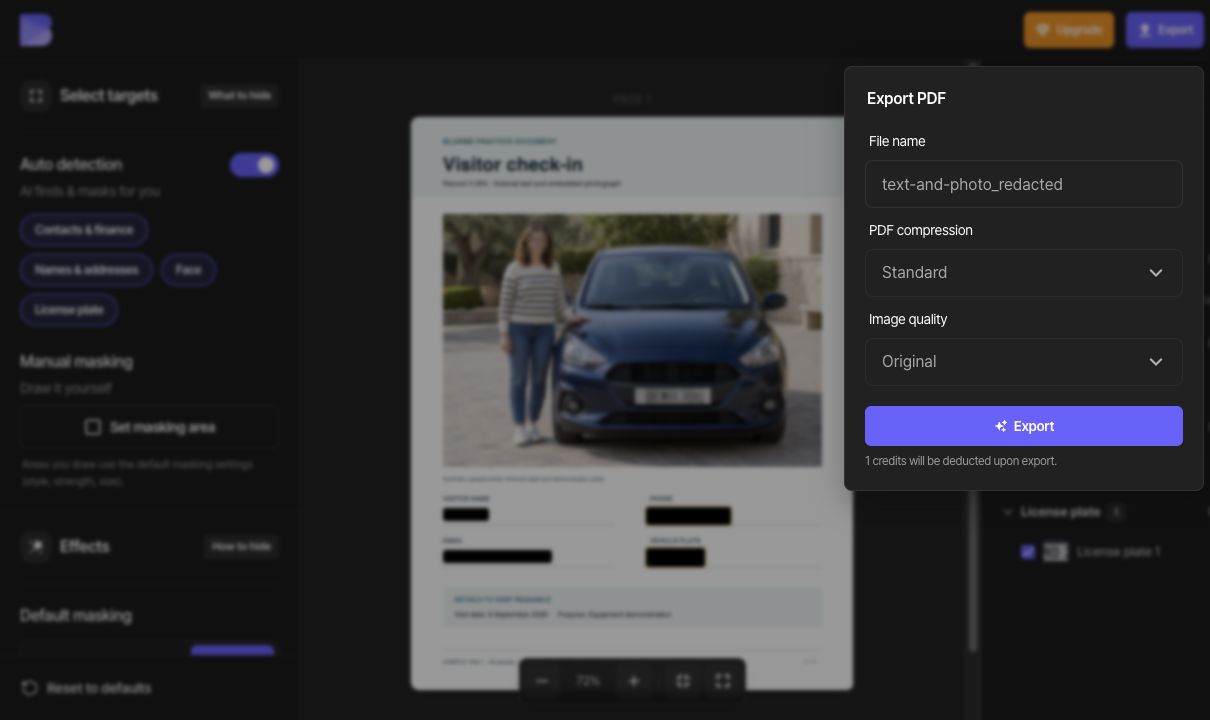
After reviewing every page, click Export. Choose Standard for PDF compression and Original for Image quality, and enter a file name that distinguishes the output from the source. Review the credit notice and start the export.
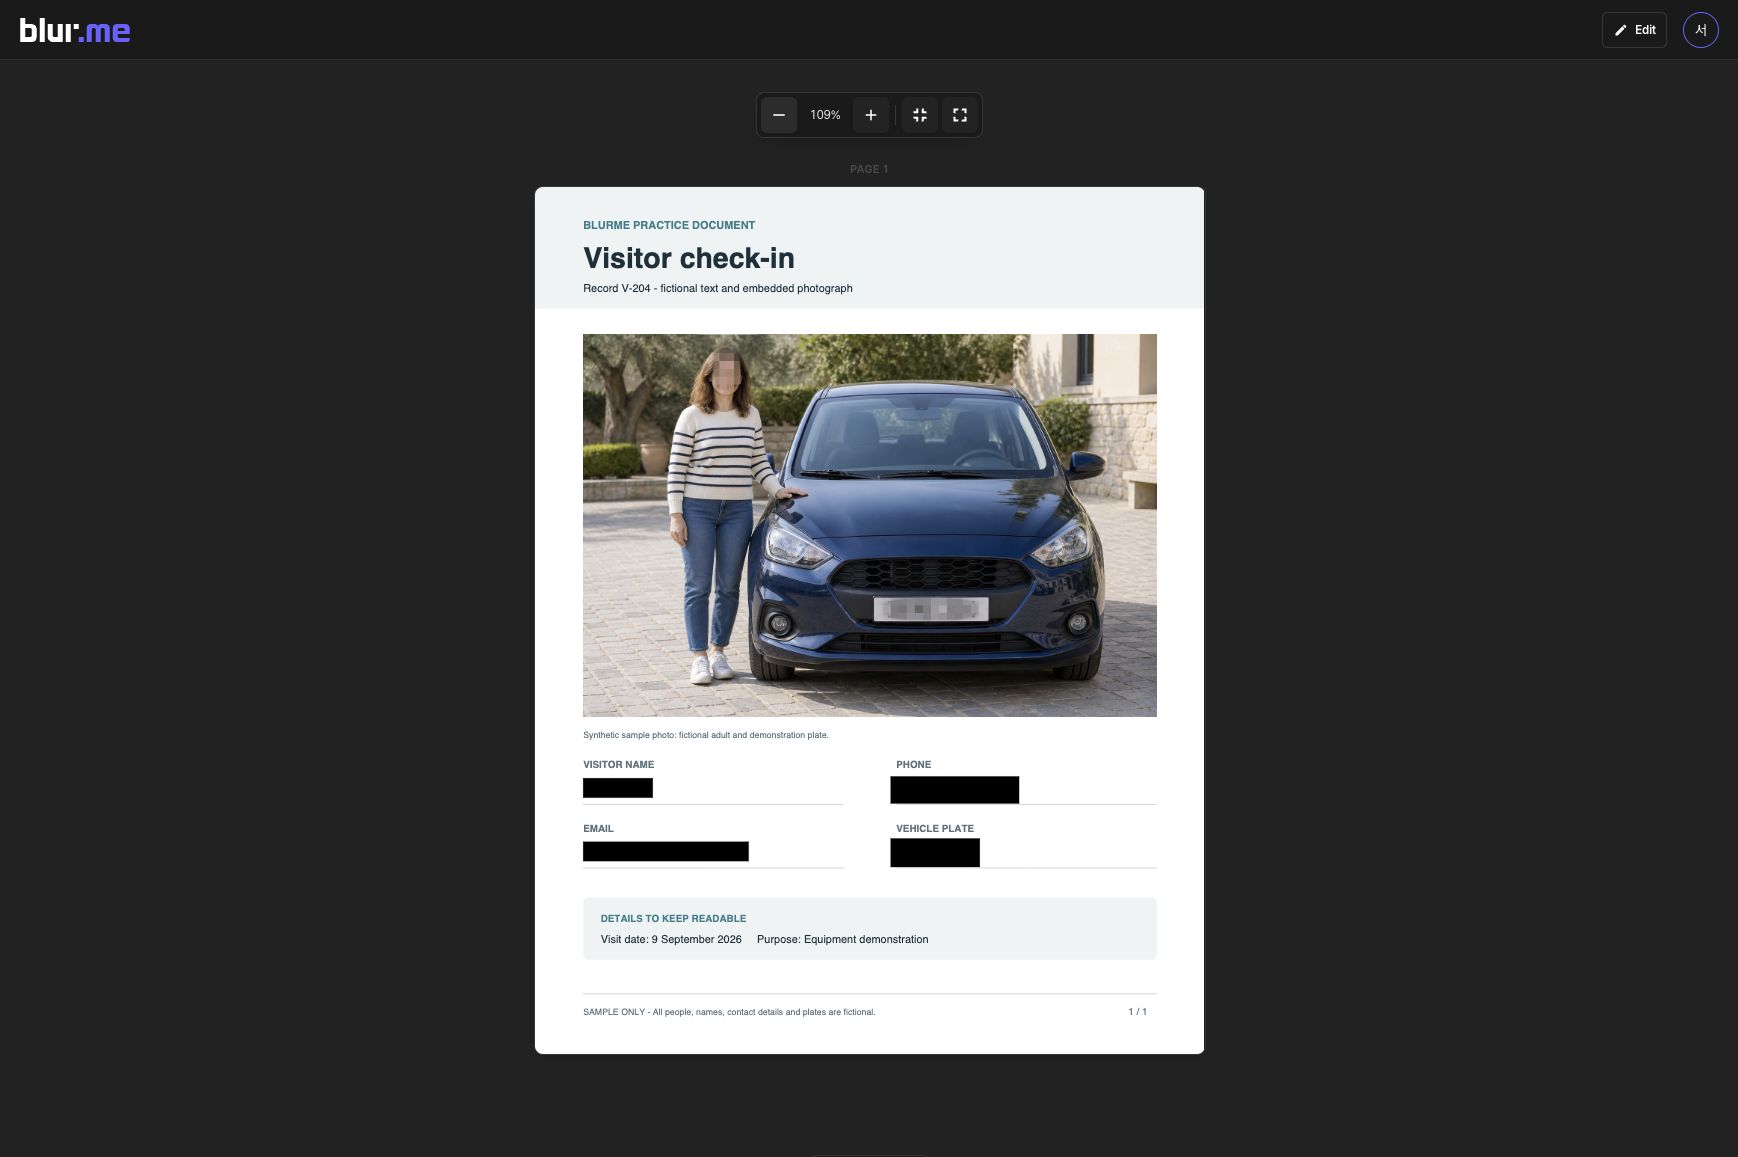
On the PDF result page, inspect each page and click Download. Reopen the downloaded PDF in a PDF viewer on your device. Confirm the page count and masking, and check that the text and photos you kept remain readable.
PDF compression offers None, Standard, and Maximum; image quality offers Original, High, Standard, and Low. If you need a smaller file, export with different settings and compare the actual file sizes and the readability of small text and photos.
To correct the result, choose Edit, adjust the masking, and export again. A file already downloaded does not update when you edit its project.
Check search and copy separately
Use Default masking → Color to hide selectable text. Color is used for content removal in the selected area; Blur and Mosaic are visual effects. Check the downloaded PDF as described below instead of judging only by its appearance.
Strings to check in this sample: Elena Park, elena.park@example.com, +1 202 555 0136, DEMO 204.
Search the entire downloaded PDF for the names, contact details, and other values you hid. Select text across the covered area, copy it, and paste it elsewhere to check for hidden content. If your viewer supports text export, extract the whole document and check the same strings there.
If hidden content remains visible or appears in search, copied text, or extracted text, do not share that output. Correct the area and masking method and export again. If the corrected output still has the problem, use the troubleshooting guide.