Keep a Person Clear and Blur the Photo Background
Zaktualizowano 9 wrz 2026
Keep the whole visible person clear, blur the surrounding background, and save the photo. Review the head and hand edges and check the exported file.
Before you start
Use a photo with a clearly focused person and café background. Download the sample below or use your own portrait with a background to blur.
Selecting the person with Magic Blur and applying a background effect requires Starter or higher.

1. Open the sharp original
In the dashboard, choose Upload files and select background-cafe.png. After upload and analysis finish, open that photo in the Studio.
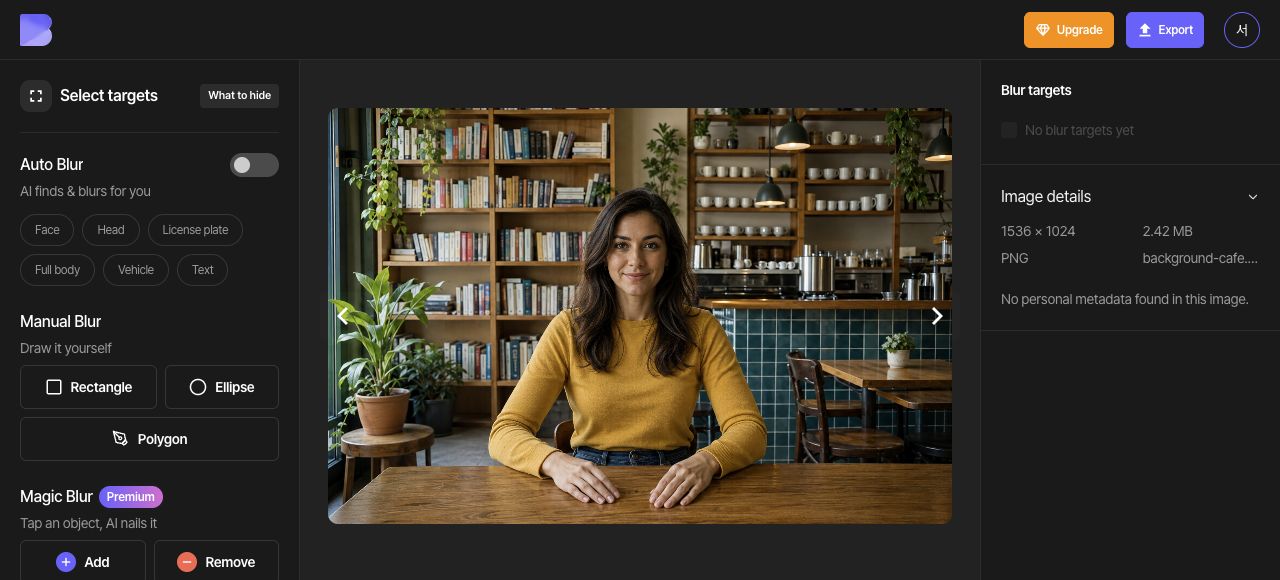
Turn Auto Blur off. Look at the sharp bookshelves, cups, and tiles behind the person. Use this same photo throughout the background-blur steps.
2. Select the person to keep
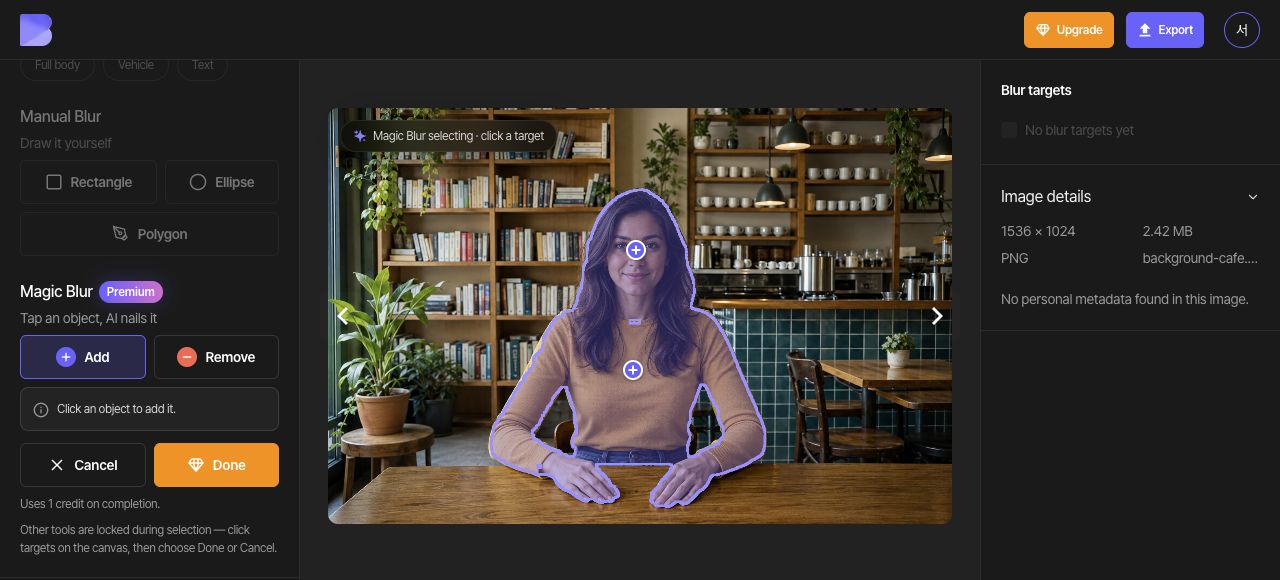
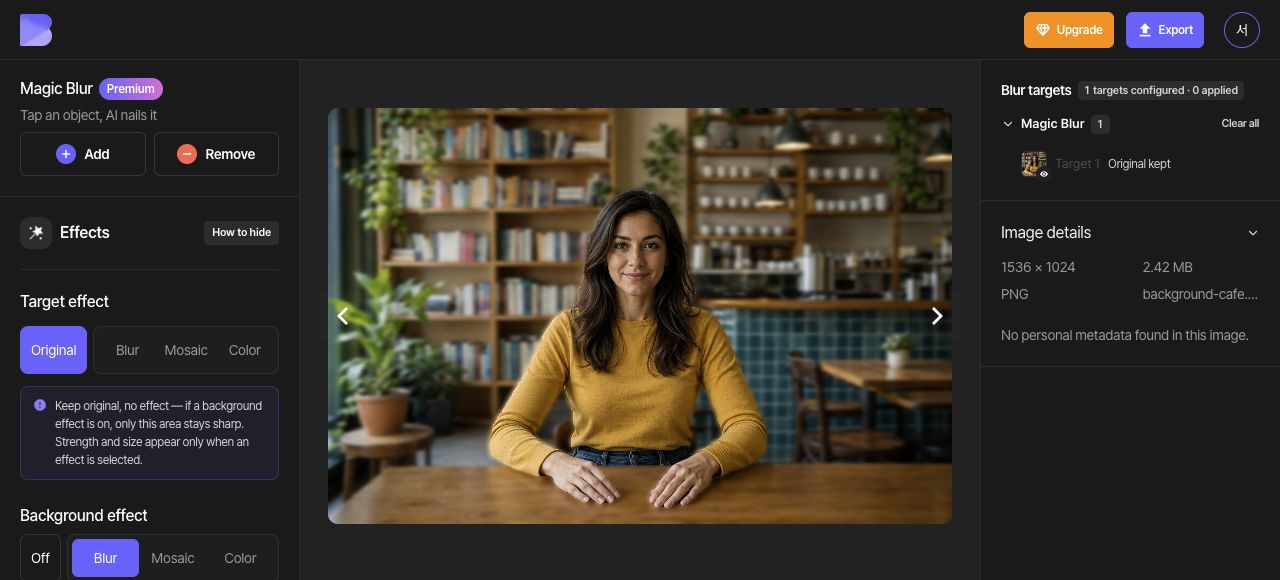
Choose Add in Magic Blur and place one point inside the yellow shirt and another inside the face. Check that the two Add points include the whole visible person, including the head and both hands. Review the hair edges and the background between the arms, remove unwanted areas if needed, and choose Done.
3. Set the overall Target effect to Original
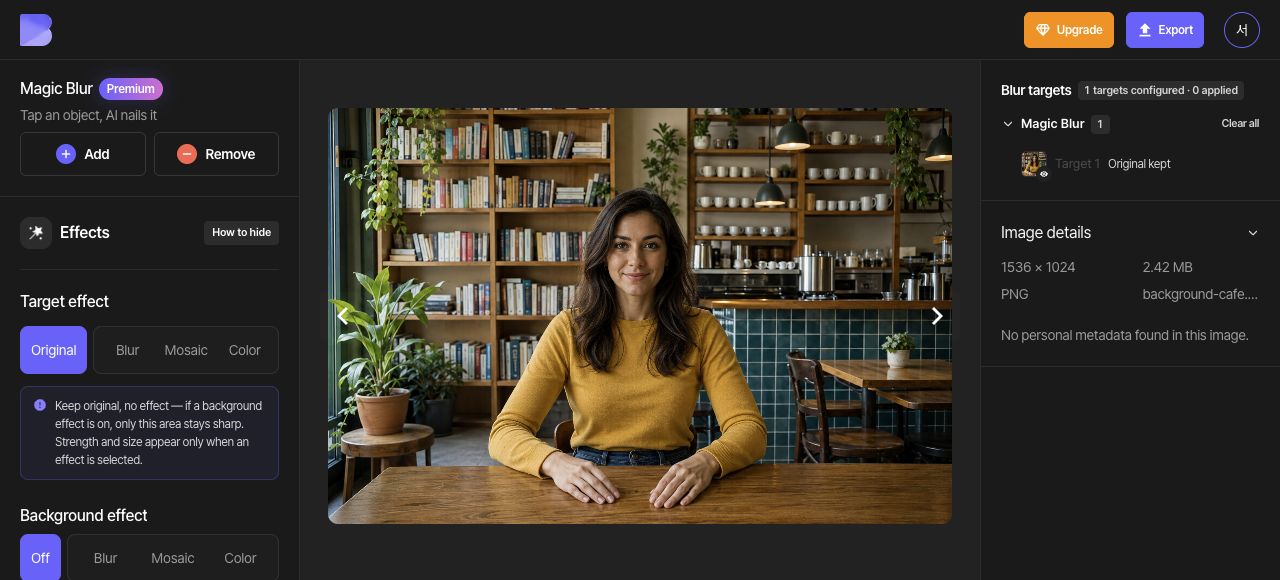
With no individual target selected, change the overall Target effect to Original. Keep Auto Blur off so the person selected with Magic Blur is the target that remains clear in this photo.
4. Apply Blur to the background
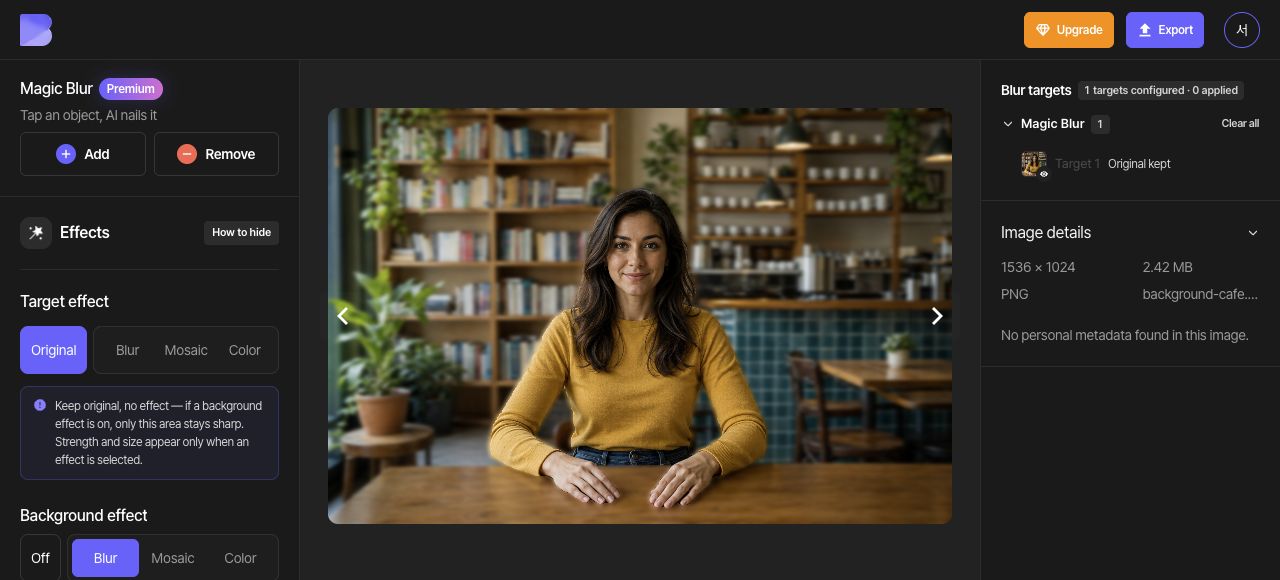
Choose Blur under Background effect and adjust its strength. Check that the bookshelves and café objects outside the person become softer.
5. Review the edges and the change
Inspect the person and background at the same zoom level. The face and both hands should stay clear while the bookshelves and cups become blurred. Check for background fragments or clipped hair, shoulder, or finger edges.
If the completed outline needs to change, locate only the person’s Magic target in the list and use its trash-shaped Delete target button. Read the target count and deletion notice, then delete only that target. Do not use a full reset when you want to preserve other targets and edit settings.
Start Magic Blur again, create a new outline with Add and Remove, and choose Done. This creates a new selection rather than reopening the completed target’s points. Recheck that Auto Blur is off, the overall Target effect is Original, and Background effect is Blur, then inspect the edges again.
6. Export as JPG
Open Export at the top and select JPG. Set the file name to background-cafe-edited. Keep Quality at Default, then review the on-screen credit and usage notice before starting the export.
7. Check the downloaded file
After export completes, use Download for the same photo in the dashboard. Wait for the browser download to finish, then open the file on your device and check its name and extension.
Check that the face, body, and both hands remain clear while the café background outside the outline is blurred. Perform this check in the file you just received as well as in the editor.